Freebies!

Bloggin The Crafts currently has 64 followers. I have a goal to get that number to 100 followers! YOU can help me! Refer your friends and fellow crafters. When we get 100 followers there will be a crafty giveaway!

Monday, March 12, 2012

I'm back!

Sorry that it's been a while!  I guess I got a bit overwhelmed with LOAD and didn't realize it.  Actually, the truth is more that other things got neglected so that I could do LOAD, so I had to catch up a bit.  I haven't had much time to craft at all, scrapbook or otherwise.

But, today I took the leap and upgraded my Storybook Creator Plus from 3.0 to 4.0.  I also purchased some new digital content and got everything set.  I decided I should go ahead and mess around with the new program a bit and see what I could create.  We went to St. Louis over the weekend, so those seemed the perfect photos to use to test things out!

I ended up doing 12 pages, all in the 8" x 8" size.  I'm not going to bore you with all 12 pages, but will include a few to let you see what I did.  I also recently purchased a wide-format printer that will print up to 13" x 19".  I used that printer with 8.5" x 11" paper to print these pages.  All 12 are printed, cropped, and placed in an album.  THAT makes me happy!

This is my first page...must remember to have kids get photo in front of sign...very useful for scrapbook!

The aquarium at City Museum was a big hit for the kids AND me!

I love the fun colors...they work so well with these photos!

I thought the layout of these photos was interesting...tall, but not wide.  I used a click and fill template for these pages.

I remembered to ask someone to take a photo of the three of us before we left!  I'm trying to be IN a few photos.  One kinda cool thing I did with this one is that the background is a close-up photo of the gears that cover the pillar we're standing in front of.  I guess it's hard to see in this small photo, but I think it's pretty cool!
I can't even explain how much I am now loving digital scrapbooking.  I love that I can actually get something done quickly and then get it into an album that my family can enjoy.  I know I COULD have done that with traditional scrapbooking, but I wasn't very faithful about it.  Maybe it's because all of my tools are right here at the computer that it's just easier for me.  Whatever the reason, I really love it, and I'm so happy to have so many things DONE!

For anyone interested, I am using two Creative Memories products for my digital work.  I use Memory Manager to organize and modify my photos.  I use Storybook Creator 4.0 to create the pages.  Until today I was using SBC 3.0, but upgraded today.  The papers that are used in these pages are some freebies that I found online.  You can purchase digital content (papers, embellishments, etc) directly from Creative Memories.  If you don't have a CM consultant, leave a comment and I'll be glad to pass my consultant's name on to you!


Thursday, March 1, 2012

LOAD 28 and 29...and we're DONE!

Day 28's prompt was "On The Screen".  The awesome thing about the daily videos is that on almost every day (maybe with the exception of 2) when I listened to the video I had that "light bulb" moment where I knew EXACTLY what photos I needed to grab and the kind of layout I'd do.  When I heard the discussion for 28, I knew that my first movie experience would be a great addition for a book about me.  No photos...no problem.  Google can help with that!


And finally, Day 29.  This one was a bit harder for me.  The prompt was "once in a blue moon"...Hmmm...what happens for us "once in a blue moon"???  I thought I'd peruse through the photos to see if anything stood out.  Well, I'm obviously in front of the camera once in a blue moon!  Wow...our vacation to Disney in November...NO photos of me.  Ha ha...seriously!  NONE!  I promise...I WAS there!  So, that's the direction I took with today's layout.
And just like that, LOAD 212 is over.  Many people are posting that they're ready for a break from scrapbooking.  Not me, really.  Now I'm not going to be doing one a day, but I'd like to get 2 done every week.  I have not spent much time in my craft room on paper crafting since I've been so busy with layouts, so I'll get back in there, but I am going to try and keep some momentum going.  I have a ton of photos of my parents and my childhood that really deserve to be scanned and scrapbooked.  Now that I see what a scanned photo looks like when put on a digital page and scrapbooked, I think I'll do more of those.  I think they look great.

Hope you enjoyed the 29 layouts (I ended up with 32, because I did 2 layouts on 3 different days).  I promise I'll be back to some cards and such soon.  I have some new My Creative Time stamps that are begging to be used!  Thanks for indulging my scrappy month, and thanks to everyone that took the time to comment.  This blogger loves comments!

Lori

Wednesday, February 29, 2012

LOAD 26 & 27

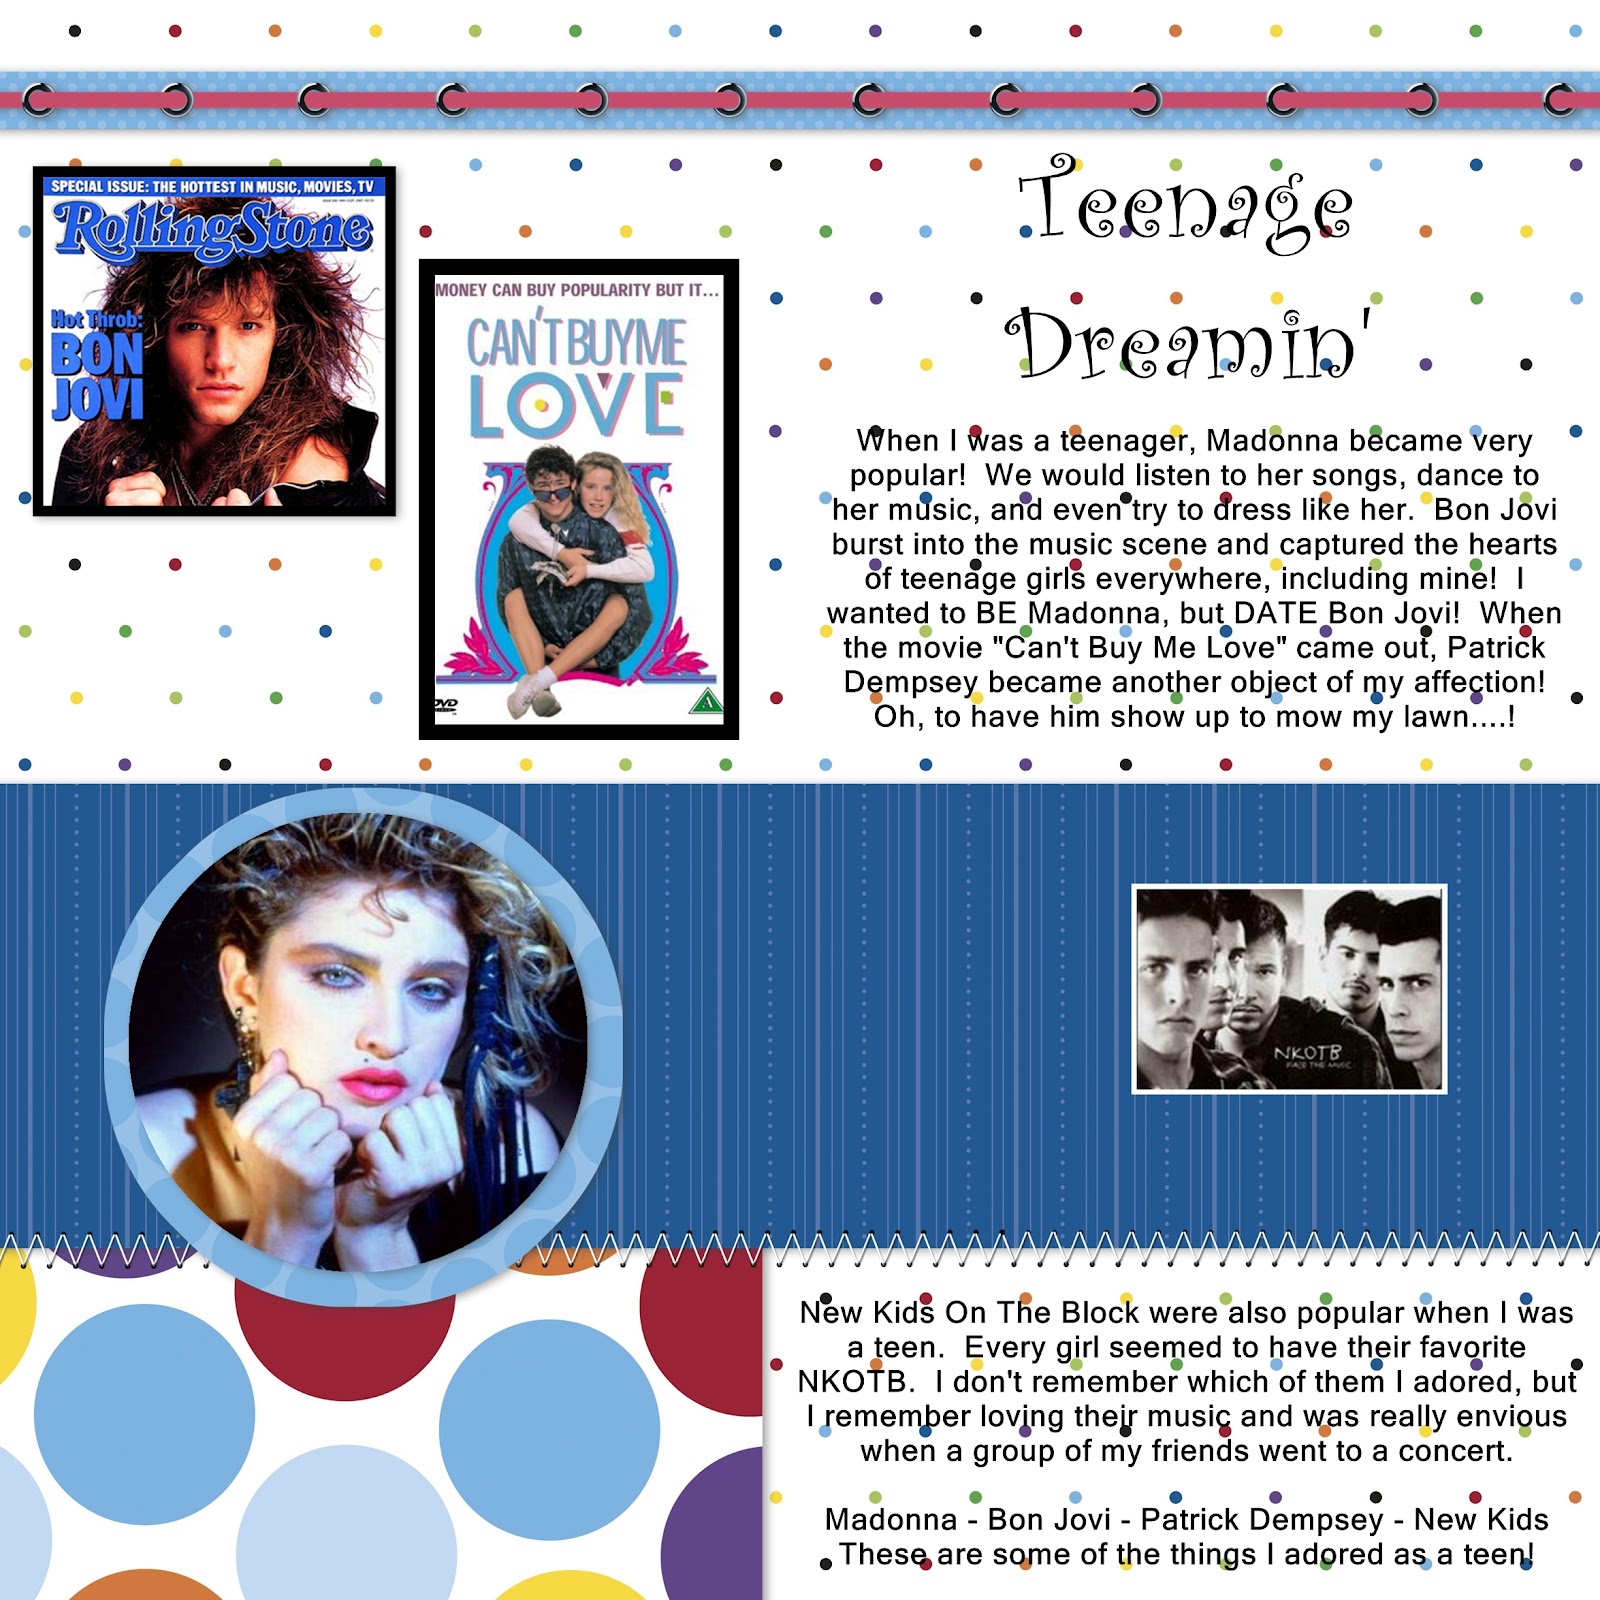
Here is day 26...Girl Crush.  Ugh...did not like this one!  I decided to go with the stuff I can remember liking as a kid/teen.


Day 27 was "Animal Magnetism"...the prompt suggested a layout dedicated to a pet.  I thought Mia (our new pup) deserved her own page!


 Now, little sister has gotten most of the attention during scrapbooking month, so I thought I should do a Drake page, since he hasn't had many layouts this month.  His recent (as in 2 days ago) music competition seemed a good place to start.  So I give you....LOAD Day 27, layout 2:


I'm seriously going to be sad when this ends!  I think a LOEOD (layout every other day) would be perfect for me!  Right now I'm 30 layouts for 27 days.  Totally, completely happy with that!  I have learned a lot about my digital scrapbooking software and I'm eager to learn more.  The music paper you see in the layout above was found by googling "digital scrapbook paper music" and then importing the paper into SBC 3.0.  Oh, did I mention....it was FREE!  Even better!

Tuesday, February 28, 2012

LOAD 23, 24, and 25

Here are my layouts for days 23, 24, and 25.  Sorry for those of you craving more crafty posts...maybe once LOAD is done I will have a bit more time to share with crafting!

23 - Road Trip
I decided to go with her "Dream Vacation" part of the prompt!
 24 - By The Numbers
I saw someone do stats on their birth, so I thought that was a good one for the book about me.
25 -  "I feel like...."
Well, that one could've gone a lot of ways, right?  So, I took this route...
If anyone is thinking about getting into digital scrapbooking, I am using Creative Memories Story Book Creator 3.0 for all of these layouts.  I'm learning a lot!  Let me know if you have any questions.

Friday, February 24, 2012

Imagine Card

First things first...this is NOT my original idea!  I found this, and thanks to Pinterest, not only was I able to find it again, but now that I've created my own take on it, I can give credit where credit is due!  You can see the blog post where I got inspired HERE.

My version isn't much different, really.  I needed some "Thank You" cards, so I adapted the design for that.

 I needed to make a lot, so I started with 12 of these.  A friend recently gave me a bunch of envelopes that her store was going to throw away, so I measured the envelope and made this larger card to utilize the free envelopes!  The base is Kraft card stock.  You can't really tell from the photos, but everything is adhered with ATG, except for the balloons, and they have one big fat foam dot.  It really looks cool, especially with the banner flattening out the strings from the balloons.
 The next layer is the cloud paper from Imagine Best Friends, as is the balloon image.  The white piece is one of the "stock" images that is on the Imagine.  The banner is from Enjoy The Seasons.  I basically just played around with sizes until I got the card to look the way I wanted it to.  I took some decorative scissors to the card above, while choosing to corner round opposite corners on the one below.
The sentiment is from Emma at My Creative Time's "Many Greetings" stamp set.  I thought "Thanks a Bunch" works well with the bunch of balloons!  Once I had the sizes figured out it was really easy to keep the Imagine printing and cutting the different elements while I embossed and stamped.  Love how simple the Imagine can make a project, especially when you need to create multiples of something.

Here are the sizes that I cut:

  • A-6 card (6 3/8" x 4 5/8" folded)
  • Cloud - 7.8
  • White section - 3.0
  • Banner - 3.0 (winter section of Enjoy The Seasons)
  • Balloons - ???  I forgot to write it down!  Oops!
As a side note, I did learn something.  I was experimenting with the banners to see which one worked best for the card.  Each season has a slightly different banner.  I had one sheet of cardstock, and after I would print and cut a banner, I would reload the paper and check the "Load Last" box.  The new image now jumps on the screen over to accommodate the item that was previously cut.  This doesn't really make sense when I read it, so give it a try and I hope you'll see what I'm talking about!

Thursday, February 23, 2012

LOAD Day 22

Here is my Day 22 layout, for the prompt "Holidays"

I do pages in a Christmas album every year.  The first pages for each year are the photos that we received in cards.  Then I close that year's page(s) with photos of our family at Christmas.  I actually already scrapped the card photos one day when I was on hold for Cricut tech support!  So, once I get this page printed and maybe do a page with our holiday card, the Christmas album will be current.

ONE week left...I am shocked!  The time (and the layouts) has flown by.  I've really enjoyed the experience.  If you're needing a kick in the pants for scrapbooking, check out Lain's "Layout A Day" method.

Now, are you ready for even MORE exciting news?  If you're a regular follower of my blog you probably have noticed that I'm a huge fan of My Creative Time's line of products.  I adore them!  The stamps give you a beautiful, crisp image every time, and her new line of dies are incredible!  Well, I made comments on her design team's blogs during her new release blog hop.  One commenter from each blog was chosen and then Emma took those names and chose a winner for a $100 gift certificate to her online store.

I WON!!!!!!!


I can't even explain how excited I was when I got the e-mail!  Holy moly...I WON!  I am so excited.  I hope I can post some fun things on here soon, made with, of course, some of Miss Emma's awesome products.  If you're a stamper, check her items out.  I think you'll love them!


Wednesday, February 22, 2012

Final V-day Projects

I know it's over, but I wanted to share a few more pics of my Valentine's Day craftiness.  I made the cards for the gift bags, but this photo is of my kiddos with their gift bags.  Hubs had one too, but he's not in the photo!
Gotta love the morning bed head!

 Everyone got personalized insulated cups for V-Day.  I had a friend pick these up for me at Sam's Club. It was a box of 6 for $20-something.  Very cool cups...add a little vinyl cut with the Cricut and you've got yourself a personalized cup.
 Then, cake pops for Miss Avery's class.  I have the Babycakes Cake Pop maker (looks like a little waffle iron) and let me tell you...that baby WORKS!  I love it!  I usually make at least 5 dozen when I make them up and then freeze them.  When you need cake pops, take some out of the freezer, decorate, and voila...CAKE POPS!  These were dipped in red coating and then pink coating was splattered on top of that.  Add a cute cello bag and it's a wrap!
Her class (Kindergarten) was fascinated with them!  They're fun to make and I think easy enough for the kids to decorate.  I will confess that the kids did not help decorate this batch.  We were expecting a snowstorm on the 13th, so school on the 14th was looking doubtful.  I decided to NOT make the pops on the 13th only to have school and the party cancelled.  Murphy's Law...since I didn't make the cake pops, it didn't snow, and the kids had school.  I am SO GLAD I had the pops frozen.  I decorated them in about an hour and then had time to get ready and take them up for her party.  Phew!

Hope you enjoyed the last of my V-Day project photos.  Look for more cake pops in the future!